When marketing a space to a client, you want to convey your ideas effectively so you ultimately walk away with the job. The same is true for sample drawings that you use on your website to attract new clients.
So, what makes a good modern “presentation” and how can you “wow” clients in modern shopping experiences? Let’s explore what you can do in Cadsoft Envisioneer to create a good presentation.
Online Presence
Let’s look at online presence first.
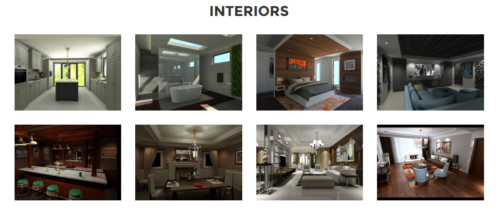
Website Gallery Sample – See our gallery for more ideas:https://www.cadsoft.com/products/gallery/
Presentations come in different formats. From a physical design board to VR presentations and with either you need to find that right mix to show off your design and your skills. In today’s market, where research is done predominantly online, you want to ensure that your online presence is as good as the physical presentation you make to the client.
On your website, you need to set up an online gallery of your work. This shouldn’t be limited to just photographs of completed houses, but also renderings during the design stage so the homeowners can have insight into your design process and expertise.
Impress them with the renderings you can create, wow them with VR presentations.
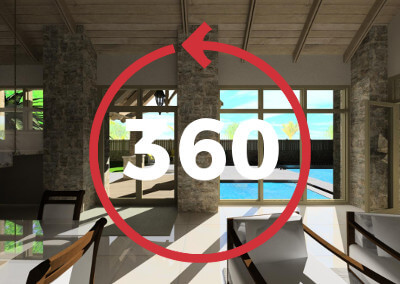
See this great example of giving great visuals and detail of a model: https://www.cadsoft.com/360/
Show them that you are innovative and use the latest technology so they get excited about working WITH you. It isn’t just about the finished product, people want to see how you work as well and a gallery of images in the concept phase are just as popular as photographs of completed homes.
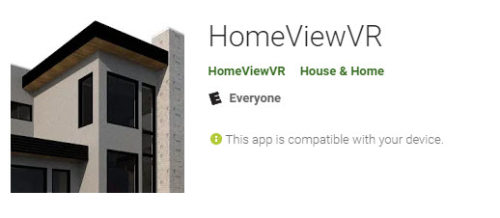
VR concepts can be sent to their smartphones from the HomeViewVR app (download it from the Google Play Store or the Apple iStore). Imagine the power of immersing them in their own home, or samples of your work, and sharing those VR experiences with their friends and family.


Onsite Presentation
Now let’s look at the actual face to face presentation. How should those drawings look? What should you include in the presentation drawing set? Everyone has their own drafting standards and plan set list and you will find that you will set your own too. Just, above all else, be consistent each drawing.
Let’s go back to some drafting basics. “Line weight, Lettering and Profile!” those words would echo through the drafting department while I was in school and still resonate with me many (many 😊) years later. To make a set of drawings look professional you must pay attention to the details but also remember your audience.
The presentation drawings are for a client, not the building inspector, a framing crew or electrician, but someone that may not have experience looking at blueprints. So keep it clean and simple. Less text, more illustrations.
Standard Rules
Line weight is used to profile items in your work. The heavier the line the more emphasis on the item and your eye is drawn to it. The line weights can be simply separated into groups: Light, Medium and Heavy. Envisioneer has preset line weights for you to take advantage of and you can personalize the settings to your liking. Line weights, as a general guide, can be set as following;
- Light line weights:
- Dimension lines
- Existing areas in a renovation
- Hatching
- Door swings
- Reflected Ceiling lines
- Denoting item below or above
- Intermediate wall lines
- Heavier line weights:
- The outside wall line
- Grade line
- Titleblock outlines
- Medium line weights should be used for everything else in the scene.
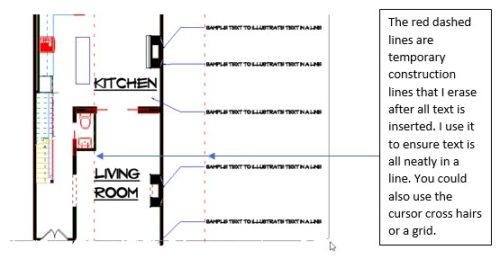
Text should be a consistent height and in line with other text on the sheet as much as possible so it is easy to read. I draw a temporary line that I use as a guide to ensure all the text starts at the exact same spot when I look vertically and horizontally along a drawing.
Blank space. Don’t over crowd your work. Let it breath so your eye can take in a drawing at a time and not bounce from drawing to drawing. Eliminate extra elements that may be confusing on the first pass. You don’t need to show every line in a wall, a solid fill of the entire wall cavity is much better for a presentation.
Presentation Drawing Content
Once you have the model and drawings completed, here is a sample list of drawings to include in a preliminary presentation set;
- Floorplan(s) of each location.
- Elevation(s) of each side of the house. Don’t include sides that aren’t effected in a remodel.
- A rendering of spaces you want to highlight. Create renderings that illustrate the concept and aren’t too full of materials and objects that make them complex.
- A design statement. A simple, concise statement that explains your design and justifies any changes you may be making if it is a remodel.
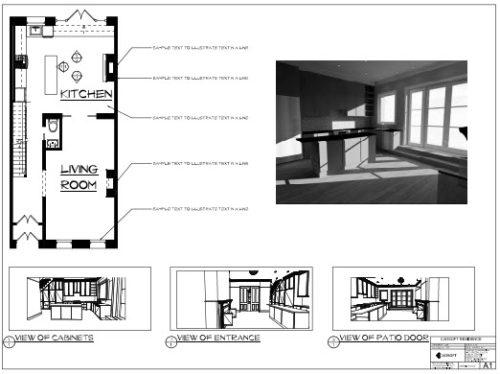
Presentation Drawing Set Sample
Presentation drawings are a way to engage homeowners to discuss the project and a summary of what you can offer them. Set up your drawing standards, how you like them to appear, and stay consistent in every drawing, in every project. Visit the gallery for sample renderings and drawing sets.