ALL TUTORIALS
ALL TUTORIALS

Creating a block (Video)
Have you created a really great detail in an Envisioneer project and want to use it in another project? In Worksheet mode, go to Insert-Blocks-Insert Block from File. This utility will allow you to pick an Envisioneer project and open a block that was saved in that...

Attributes (Video)
Do you have a customized titleblock with text that you update each time you start a new project? Think about using attributes, attributes allow you to attach textual information to blocks that can be updated through a handy dialog box. In Worksheet mode go to...
Adding a Logo (Video)
You can customize your printed worksheets by adding in your company logo. Go to Insert-Import Image. From your hard drive find a jpg,bmp or tga file of your company logo. You can resize it during the insertion process. Hope that makes your Envisioneer work, one step...

Labels (Video)
Do you want to add text to the predefined labels list in the text tool so it reflects your most common text choices? Select Files-Catalogs-Library Manager. Under the Libraries pull down menu, select Labels. Right click to Add, Edit or Delete labels. Once you exit the...

Selecting New Title Block Sizes (Video)
The titleblocks that are automatically associated to your worksheet space in Envisioneer are 24x36 pieces of paper but these sheets can be any size that you want to specify. Part of your default catalog with Envisioneer includes a number of various sizes of...

Batch Printing (Video)
If you have a number of drawing sheets to print out, Envisioneer can do them all at once. Select File-Batch Printing. In the Batch Printing dialog box, you select which sheets you want to print and uncheck any that you don't. You have the print information displayed...
Driveways, Paths and Roads (Video)
Inserting driveways, paths and roads are a breeze following the directions of Australian Envisioneer Distributor Don Cable.
Walkout Basements on a Sloped Terrain (Video)
Tin Terrain and Walkout Basements. Cadsoft software incorporates TIN terrain where exact spot levels can be inserted. The Spot Point command allows you to manually insert specific points by specifying X,Y,Z coordinates. Using the commander you can change the Z...
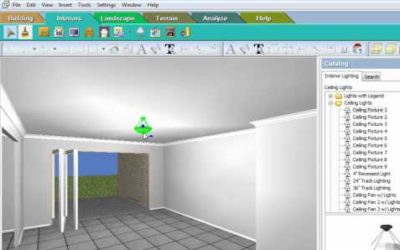
Inserting Lights and Wiring Diagrams (Video)
Don Cable, the Australian Distributor of Envisioneer profiles the interactive lighting and electrical diagram capabilities in Envisioneer.
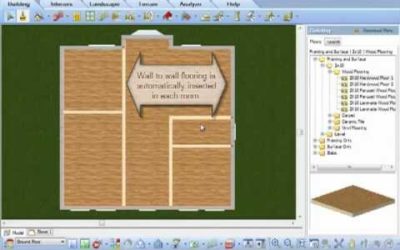
Automatic Floors (Video)
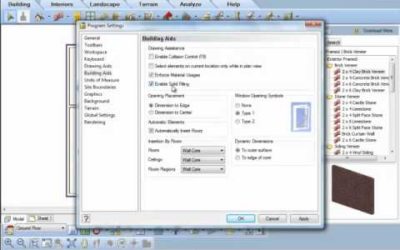
Automatically as you create a room in Envisioneer a floor will be inserted. This floor will span from wall to wall of that room and its purpose is to represent finish floor materials in each of the rooms. If you do not want automatic floors, go to Settings-Program...
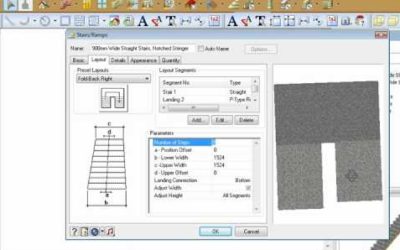
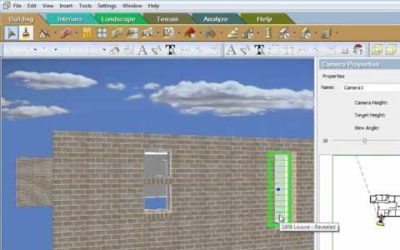
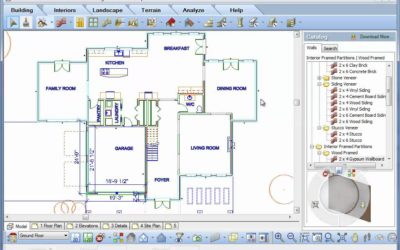
Inserting Stairs (Video)
Stairs Video: https://youtu.be/9fDCOTzR1fU Instructions from Video: Select Insert>Stairs/Ramps or select the Stairs icon. The catalog has a variety of stair styles and widths ready to insert. Let’s first insert a straight stair and review the information on that...
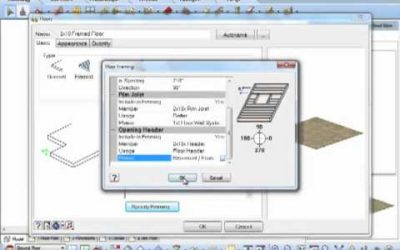
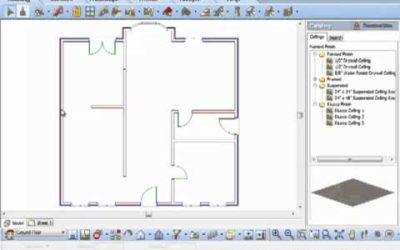
Floor and Ceiling Framing (Video)
One dialog box allows you to make many specifications, cutting down on your time!!
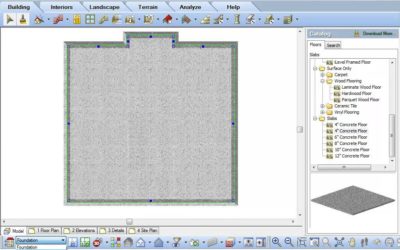
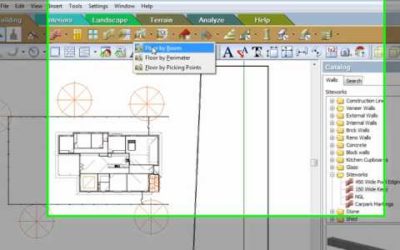
3 Ways to Insert a Floor (Video)
There are 3 different methods to insert a floor in Envisioneer. Floor by Room will find the enclosing walls in a space and place a floor within that room. Floors by Perimeter will find the exterior walls in a building a place a floor inside the entire interior of the...
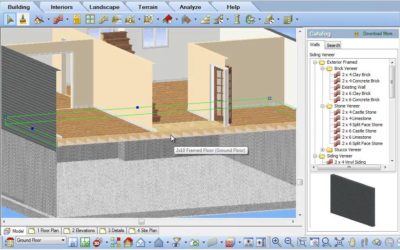
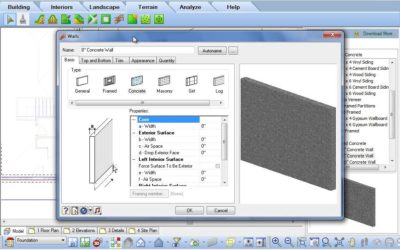
Convert Framing to Members (Video)
When you insert a floor the floor can can consist of the flooring material, floor sheathing and the floor joists. By editing a floor you can determine the thickness of the materials it has specified, if any and the framing materials, spans and directions. All of these...
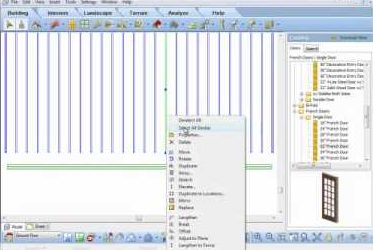
Lengthen Member (Video)
Have you have inserted a series of members, as an example joists, and then need to make all of them longer or shorter? Select one of them, then right click and select Select All Similar, to select all joists, now right click again and select Lengthen to Fence. Left...
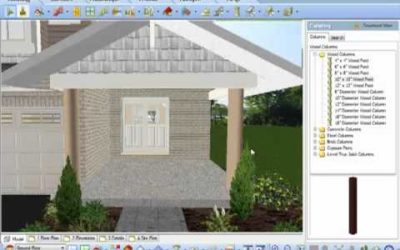
Tapered Columns (Video)
Added flexibility for your designs with the new tapered column feature.
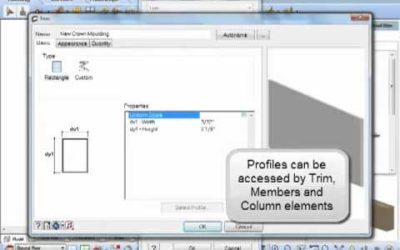
Convert a Polyline to a Member Profile (Video)
Video: https://youtu.be/7pfZWMHMh6M Transcript: A profile can be used for your members or trim pieces in your design. Envisioneer has a default group of profiles already created for you, but you can add or create your own to help give your designs the custom look you...
Adjust Member to Plane (Video)
Once a member is inserted it can be adjusted to match the plane of another surface. For example, you insert a frieze board and want to align it to match the gable end of a wall. Left click to select the board, right click and select Adjust to Plane. Left click on the...
Arched Brackets for Post Frame Construction (Video)
This video shows how to create and insert an arched bracket for post frame construction using a convert polyline to profile command in Cadsoft Envisioneer

Using Members as Alternate Objects (Video)
The member command in Envisioneer is very versatile -- a member can be any size, shape and made from any material. So think outside the box and when you need a tiled backsplash, make a member the equivalent height and thickness and then pick points on its insertion to...
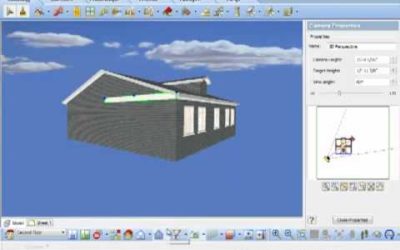
Elevating & Sloping Members (Video)
When you insert elements into a model using Cadsoft software, the bottom area of the screen will always prompt you with directions, this area is referred to as the "Commander" area. When you insert a member, the Commander will prompt you to "Pick first insertion...
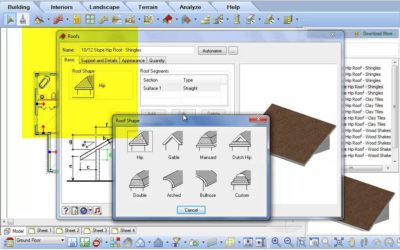
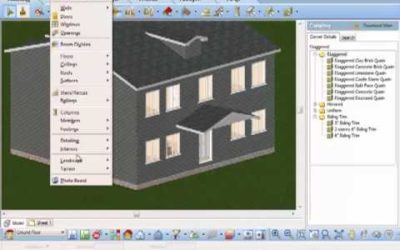
Creating Roofs (Video)
Envisioneer offers two quick methods to put a roof on a house. If the shape of the roof matches the exterior wall footprint then use Roof by Perimeter which automatically matches the shape of the roof to the house. If the roof deviates from the outline of the exterior...
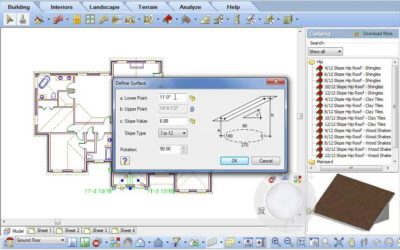
Roof Surfaces (Video)
When a roof is first created it is a cohesive unit where each segment of the roof will update as changes are made to the individual sides. Roofs can be exploded into individual surface elements that can be changed independently of one another for more in-depth editing...
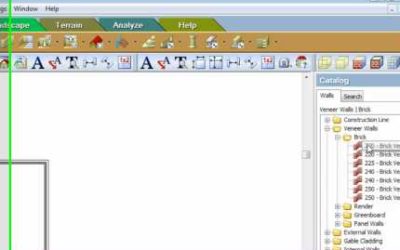
Curving a Wall (Video)
Envisioneer is a versatile tool that will work with all of your design challenges. If your design incorporates a curved wall feature, select the wall that you need to curve, right click and select Curve. Place your cursor on the midpoint of the wall and holding down...
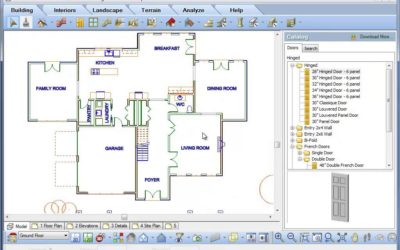
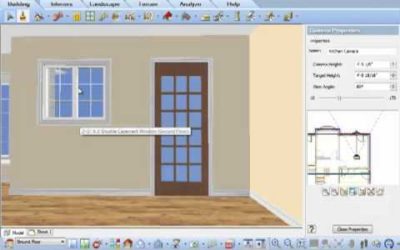
Opening Doors in 2D and 3D (Video)
The percentage that a door is open in Envisioneer is customizable. Select a door, right click to reveal the editing opportunities and select Properties. In the properties of the door you can edit both the percentage it is open in 2D and in 3D. Click OK to accept your...
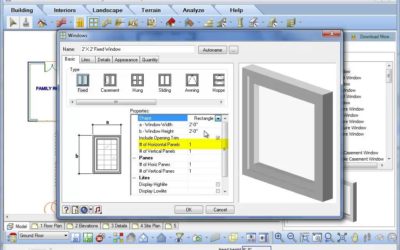
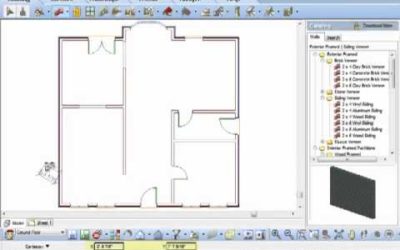
Mulled Window Units (Video)
The standard window catalog in Envisioneer can be updated to include specific manufacturers and custom windows. To add a new window style, right click and select Add Element in the catalog panel. The specific properties we will focus on are how to make a mulled window...

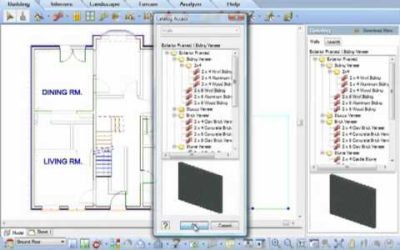
Walls with Multiple Finishes (Video)
Your design incorporates multiple materials up the height of a wall, so how do you show all of the various materials on that wall in your Envisioneer model? Left click to select the wall and then right click and choose Properties. In the Properties page of that wall,...
Quoins and Cornerboards (Video)
Cornerboards Video: https://youtu.be/8ns8VLw0Mcs Instructions from Video: Want to add further detail to a model by adding cornerboards or quoins to the corners? Select Insert>Detailing>Corner Details or select the Corner Details icon. In the default catalog,...
Adding Solid Fill to a Wall (Video)
Are you doing a presentation drawing and want to shade in the walls to a solid colour? Go to Settings-Program Settings-Building Aids. Check Enable Solid Fill and voila the walls will darken in. Some walls not darkened? Look at the Properties of that wall and under the...
Insert a window above another Window (Video)
Watch as Don Cable, Envisioneer Distributor in Australia profiles the flexibility of inserting windows in an Envisioneer model.
Remove Opening Trim (Video)
Along the same wall you have two openings and on one you want casing and on the other you don't. As a default the properties of the wall will put casing around both. Left click to select the opening that you want to remove the trim. Right click and select Properties....
Wall Break (Video)
In one room you may have two different finishes along one length of wall. How do you give two finishes to one wall? You break it where the finish changes and then they become two independent walls that can have two different finishes. To break a wall, left click to...
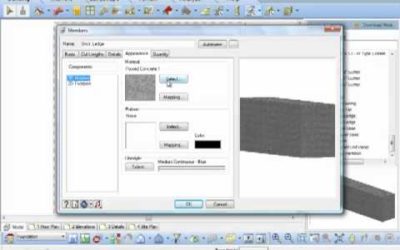
How to Draw a Brick Ledge (Video)
In Envisioneer the member command allows you to create a member any size shape and material so it is a very versatile tool that can be used for tiled backsplashes or a concrete curb for a brick ledge. watch...
Convert Line (Video)
Have you sketched out a layout with lines and need a quick way to now make that a 3D object. Select the lines and then right click and select Convert To. Your options include convert to: walls, retaining walls, members, footings and edging. This is particularly...
Drawing Walls using Cartesian Coordinates (Video)
Do you want to insert walls for a bay window but are not sure of the length or angle of the wall, you only know the overall distance it protrudes from the house? While inserting the walls, look at the command line at the bottom of your screen, the left side of the...
Multiple Wall Insertion Methods (Video)
There are several ways to insert walls in Envisioneer. Watch as Don Cable, Australian Envisioneer Distributor, inserts walls in 3 different ways.
Replace
Changes are inevitable in a design project. Envisioneer's Replace function makes it quick and easy. Select an element that you want to replace and right click, on the right click menu you will also see that you can "Select all Similar" which is very handy if you want...
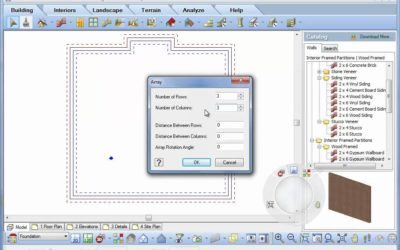
Tool Tip – Array (Video)
When you need to insert multiple copies of an object at a set distance apart, remember to take advantage of the array feature in Envisioneer. Insert one object, such as a column. Select the object in your model and then right click and select Array. The Array feature...
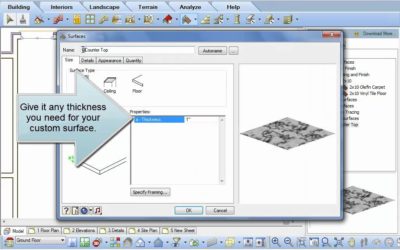
Surfaces (Video)
Do you need a custom countertop or a sloped concrete slab or any other custom horizontal element? Use the Surfaces tool in Envisioneer to create surfaces in any shape, material, thickness, flat or on a plane. Select Insert-Surfaces-Surfaces. Watch as I make a new...
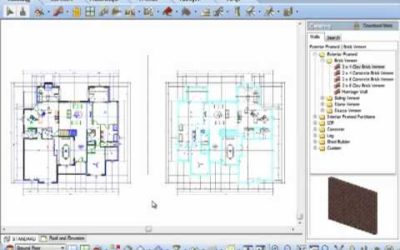
Mirroring a Plan (Video)
The mirror command has been expanded to delete the original upon request.