COLUMNS & MEMBERS
COLUMNS & MEMBERS

Lengthen to Fence for Members and Framing
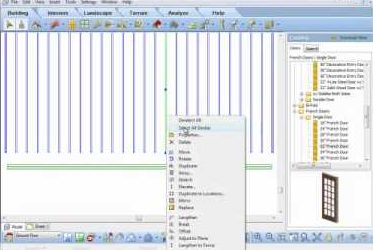
Video: https://youtu.be/QvCG6aO-8BE Instructions from Video: For today’s tooltip, we will review “Lengthen to Fence” feature for members. This feature allows you to lengthen one or a group of members at the same time to a new length. For our first example, select...
Member Tallys
Video: https://youtu.be/1YkauFOqb30 Instructions from Video: When you insert a member into a drawing you will want to know the overall length of that member and what purchase length you require to order. For some members like a 2x4, we need the length to cut and what...
Lengthen Member (Video)
Have you have inserted a series of members, as an example joists, and then need to make all of them longer or shorter? Select one of them, then right click and select Select All Similar, to select all joists, now right click again and select Lengthen to Fence. Left...
Tapered Columns (Video)
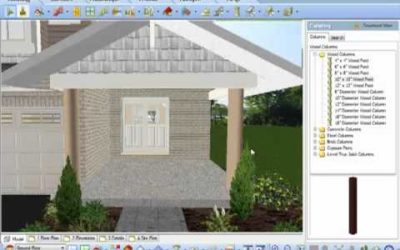
Added flexibility for your designs with the new tapered column feature.
Convert a Polyline to a Member Profile (Video)
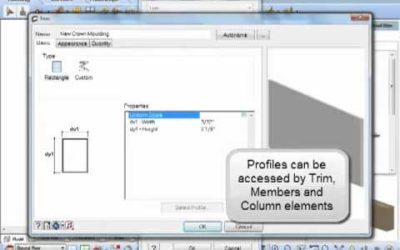
Video: https://youtu.be/7pfZWMHMh6M Transcript: A profile can be used for your members or trim pieces in your design. Envisioneer has a default group of profiles already created for you, but you can add or create your own to help give your designs the custom look you...
Adjust Member to Plane (Video)
Once a member is inserted it can be adjusted to match the plane of another surface. For example, you insert a frieze board and want to align it to match the gable end of a wall. Left click to select the board, right click and select Adjust to Plane. Left click on the...
Arched Brackets for Post Frame Construction (Video)
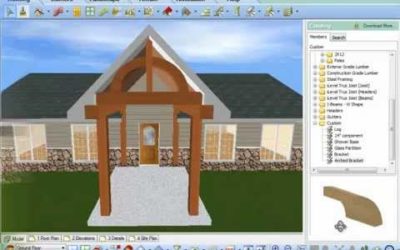
This video shows how to create and insert an arched bracket for post frame construction using a convert polyline to profile command in Cadsoft Envisioneer
Using Members as Alternate Objects (Video)
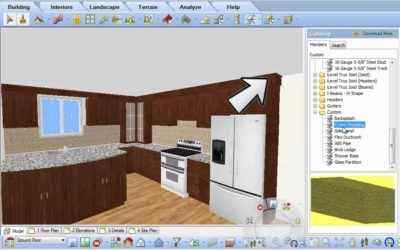
The member command in Envisioneer is very versatile -- a member can be any size, shape and made from any material. So think outside the box and when you need a tiled backsplash, make a member the equivalent height and thickness and then pick points on its insertion to...
Elevating & Sloping Members (Video)
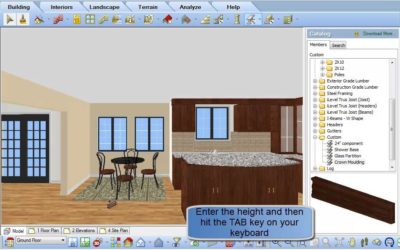
When you insert elements into a model using Cadsoft software, the bottom area of the screen will always prompt you with directions, this area is referred to as the "Commander" area. When you insert a member, the Commander will prompt you to "Pick first insertion...
